
I was as careful as possible to avoid further damage to the plaster castings.
I made real certain that all my walls would end up flush and true by test fitting them.
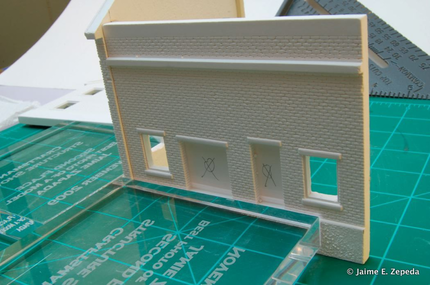
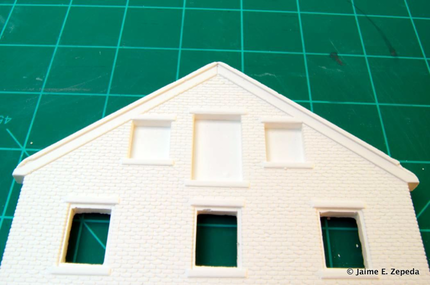
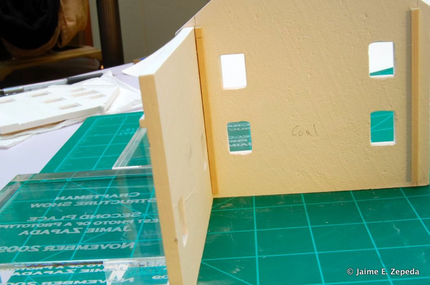
I glued two walls at a time as instructed by George. I made sure I was gluing the correct walls in the right manner by referencing the photos in the included poster (as directed in the instructions). The top photo is the "coal" gabled wall and the "track" side wall.
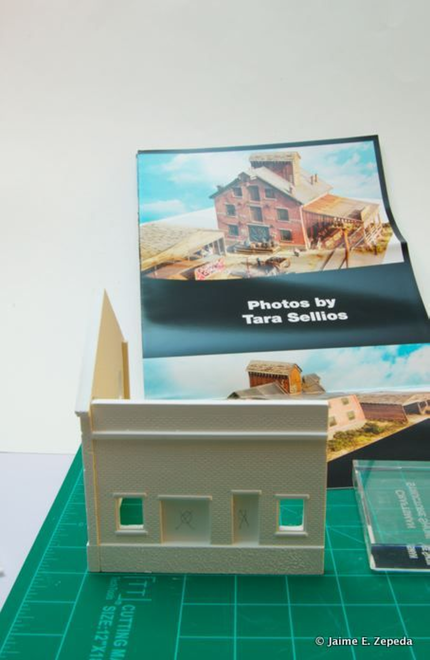
The bottom photo is the "lean to" gabled wall and the "street" side wall.
I had enough time to line everything up before the epoxy cured. I checked that the side walls butted up against the braces.
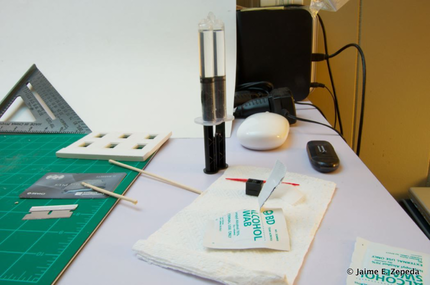
I cleaned the epoxy syringe while waiting for the first pair of walls to set. I wanted to make sure I had a square corner before proceeding with the second pair of walls. A fellow modeler, Dave Emery, adviced I use alcohol prep wipes to clean up the epoxy from its dispenser.
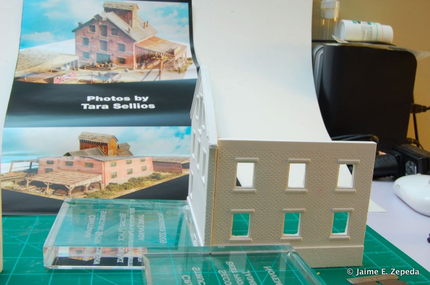
When I glued all 4 walls together and rubber banded them together I discovered something.
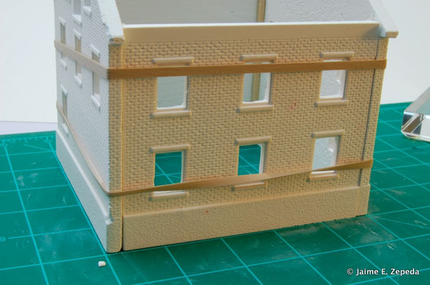
I forgot to account for the epoxy's dimensions. Epoxy has to take up space in between the walls. Either I used too much epoxy or I should have accounted for the epoxy's thickness. Thus, one side wall ended up not exactly flush with its gabled end. I'll fix it later.
However, the other pair of walls lined up right.
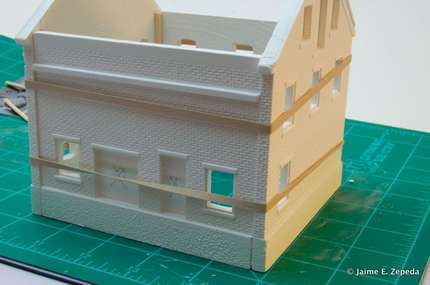
I made sure that all 4 walls were as tight and true as possible before leaving the epoxy to completely cure overnight.
To avoid further damage to the plater castings I decided that I would cut the rubber bands with scissors when the epoxy cured rather than spread the rubber bands and work them off the structure.
In summary:
Make sure you account for your adhesive's thickness when gluing parts requiring tight tolerances.